
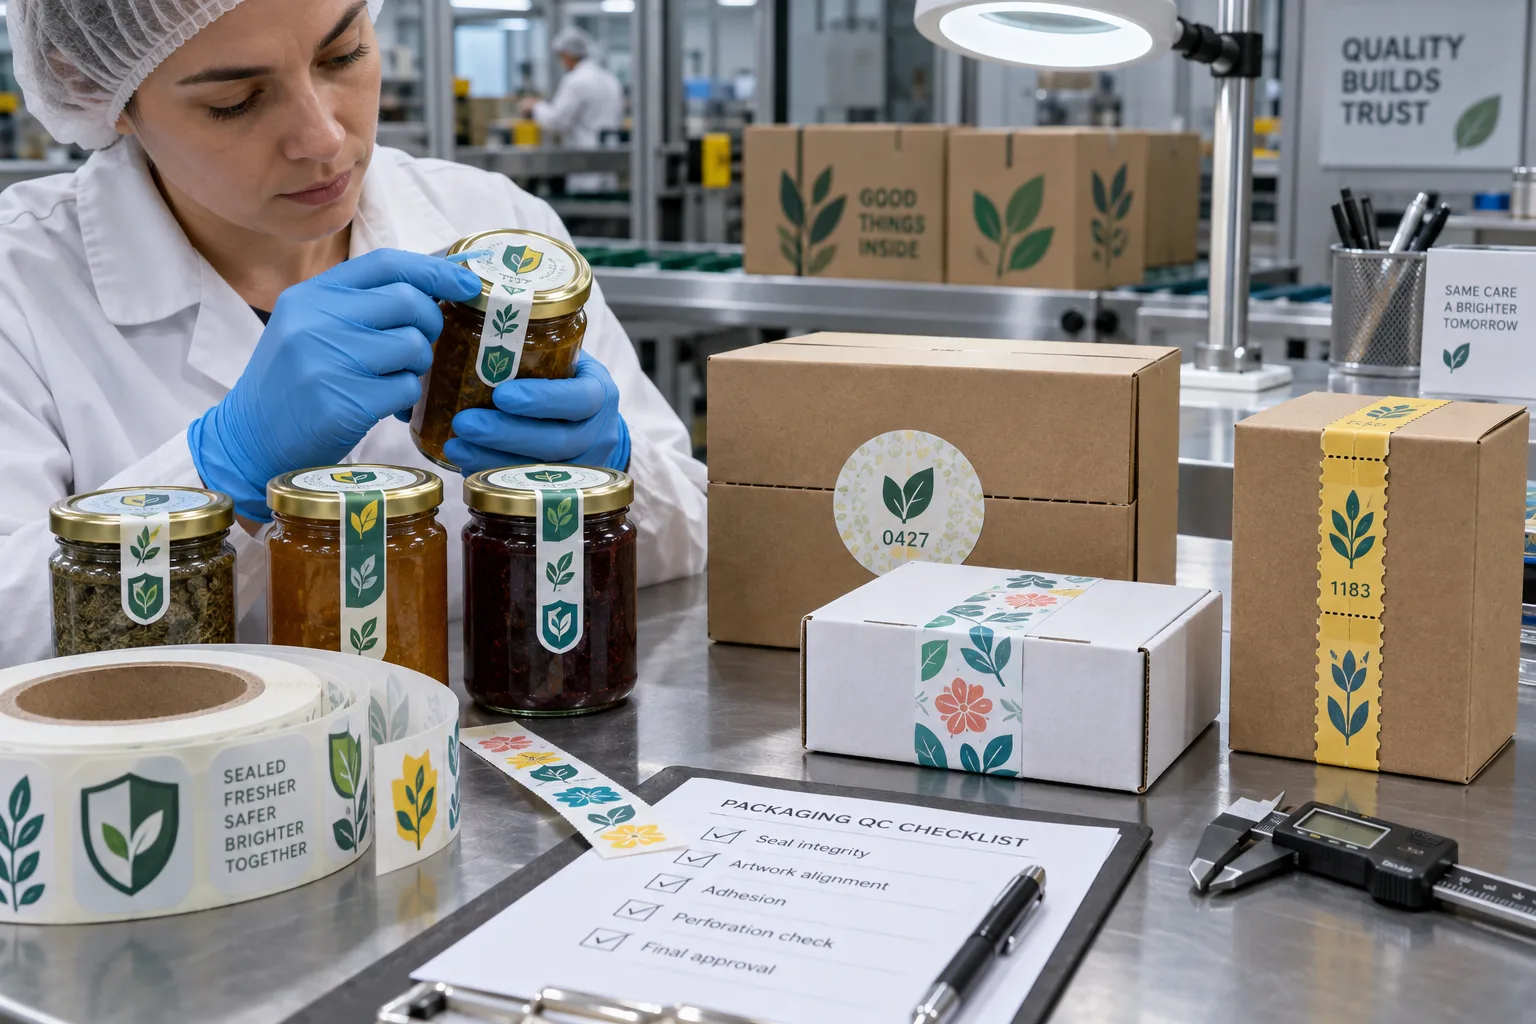
The phrase tamper evident is often used as if it described one sticker material. It does not. It describes an intended result on a complete package: after someone disturbs the closure, the package should show evidence that can be noticed.
That result depends on where the package opens, which surfaces the seal touches and how a customer removes it. A decorative round sticker on a box flap can be useful, but it should not inherit a security promise simply because the artwork includes a shield.
Choose the next test by the opening path: if the question is what a lifted seal should leave behind, use our VOID versus destructible label comparison. If a jar lid or neck is involved, compare jar seals and shrink bands. This page remains the overview of evidence, construction and package testing.
What Does Tamper Evident Mean?
A tamper-evident label is intended to leave visible evidence when the protected opening is disturbed. It is not automatically tamper-proof: a seal may discourage casual opening or reveal it, but it cannot guarantee that nobody can access the contents. A plain closure sticker may hold a flap shut without showing a clear change after removal. Specify the evidence you expect before choosing a label.
Which Layers Create the Opening Evidence?
A typical self-adhesive label starts with a printable face material, print or protective finish, adhesive and a release liner that is removed during application. That basic stack alone does not prove tamper evidence. Depending on the intended result, the proposed construction may add a destructible face, perforation or pattern-transfer layer. Ask for a cross-section or material specification for the exact sample, not a generic security label name.
| Part of the seal | Question to check |
|---|---|
| Face material and print | Does the label tear, split or stay intact when lifted? |
| Adhesive and contacted surface | Does it bond to both sides of the opening without unwanted edge lift? |
| Perforation or transfer feature, if used | Is the change visible after normal opening and after an attempted peel? |
| Release liner before application | Can operators peel and place the seal consistently? |
The answer changes with glass, metal, plastic, coated board, storage and opening force. Do not infer a particular layer stack or regulated performance from an illustration or product photo.
Begin With the Opening Path
Place the unopened package on the table and open it normally. Watch the first point that moves. A jar lid rotates. A tuck carton flap lifts. A mailer tears along a strip. A clamshell separates at an edge. The seal should bridge the actual opening path rather than decorate a nearby area.
For a jar, a narrow strip may travel from the lid top across the edge to the container. For a box, a circular or shaped seal may cross two flaps. If the seal can be removed without disturbing the closure, it is not demonstrating the intended event.
| Package | Seal challenge | Test focus |
|---|---|---|
| Glass jar with metal lid | Two materials plus a sharp edge | Bond on lid and glass, fold and opening tear |
| Plastic jar | Curvature and lower-energy surface | Edge lift and removal evidence |
| Coated carton | Varnish and paper fiber behavior | Seal bond, fiber tear and print damage |
| Kraft mailer | Texture, dust and shipping abrasion | Contact, rubbing and delivery condition |
Define the Evidence Before Choosing the Construction
Visible evidence might mean the label tears, the package surface is damaged, a pattern separates or a perforated bridge breaks. Each result creates trade-offs. A destructible construction can provide strong evidence and may be difficult to apply or remove cleanly. A paper seal may tear clearly and may also respond to moisture. A tough film can survive distribution and might peel without enough visible change on a particular surface.
Write the expected result in plain language. Then ask the supplier to discuss constructions that can be tested toward that result. Avoid vague requests for the strongest glue. Excessive bond can damage decoration, slow packing or create a poor opening experience without improving meaningful evidence.
Artwork Should Identify the Seal, Not Pretend to Certify It
A seal can and should look designed. Original leaf-and-shield symbols, geometric number panels, flowers and color-coded icons can make the closure easy to find and connect it to the brand. Blank white strips are not the price of avoiding infringement.
At the same time, visual authority is not technical authority. Do not use invented certification marks, fake inspection badges or unverified security grades. If variable numbering, barcodes or serialized data are required, define who supplies the data, how duplicates are controlled and what system reads it.
Application Is Part of the Security Result
A well-designed seal can fail when half of it misses the lid, when the carton is dusty or when operators press only the center. Create a placement reference. If the package shape makes consistent application difficult, consider a guide, fixture or revised seal shape.
Allow the adhesive to develop before aggressive testing. Then inspect unopened packages after packing, storage and distribution simulation. A seal that lifts by itself creates false alarms. A seal that survives shipping but shows no change after opening answers a different question.
A Practical Tamper-Seal Test
- Use the final jar, lid, carton or mailer
- Mark the real opening path and intended seal position
- Define the visible evidence expected after opening
- Apply with the planned operator or equipment method
- Check alignment and pressure on every contacted surface
- Allow appropriate dwell before testing
- Run packing, storage, abrasion and opening trials
- Photograph acceptable unopened and opened results
What We Would Put in the Quote Request
Send the complete package, surface descriptions, seal location, dimensions, desired evidence, artwork, quantity, application method, packing conditions and destination market. State clearly whether the seal is decorative, intended to discourage opening or required to meet a specific regulatory or customer standard.
A tamper seal should be honest twice: visually honest about the brand, and technically honest about what it proves. Give it real original artwork, but let testing carry the claim.