
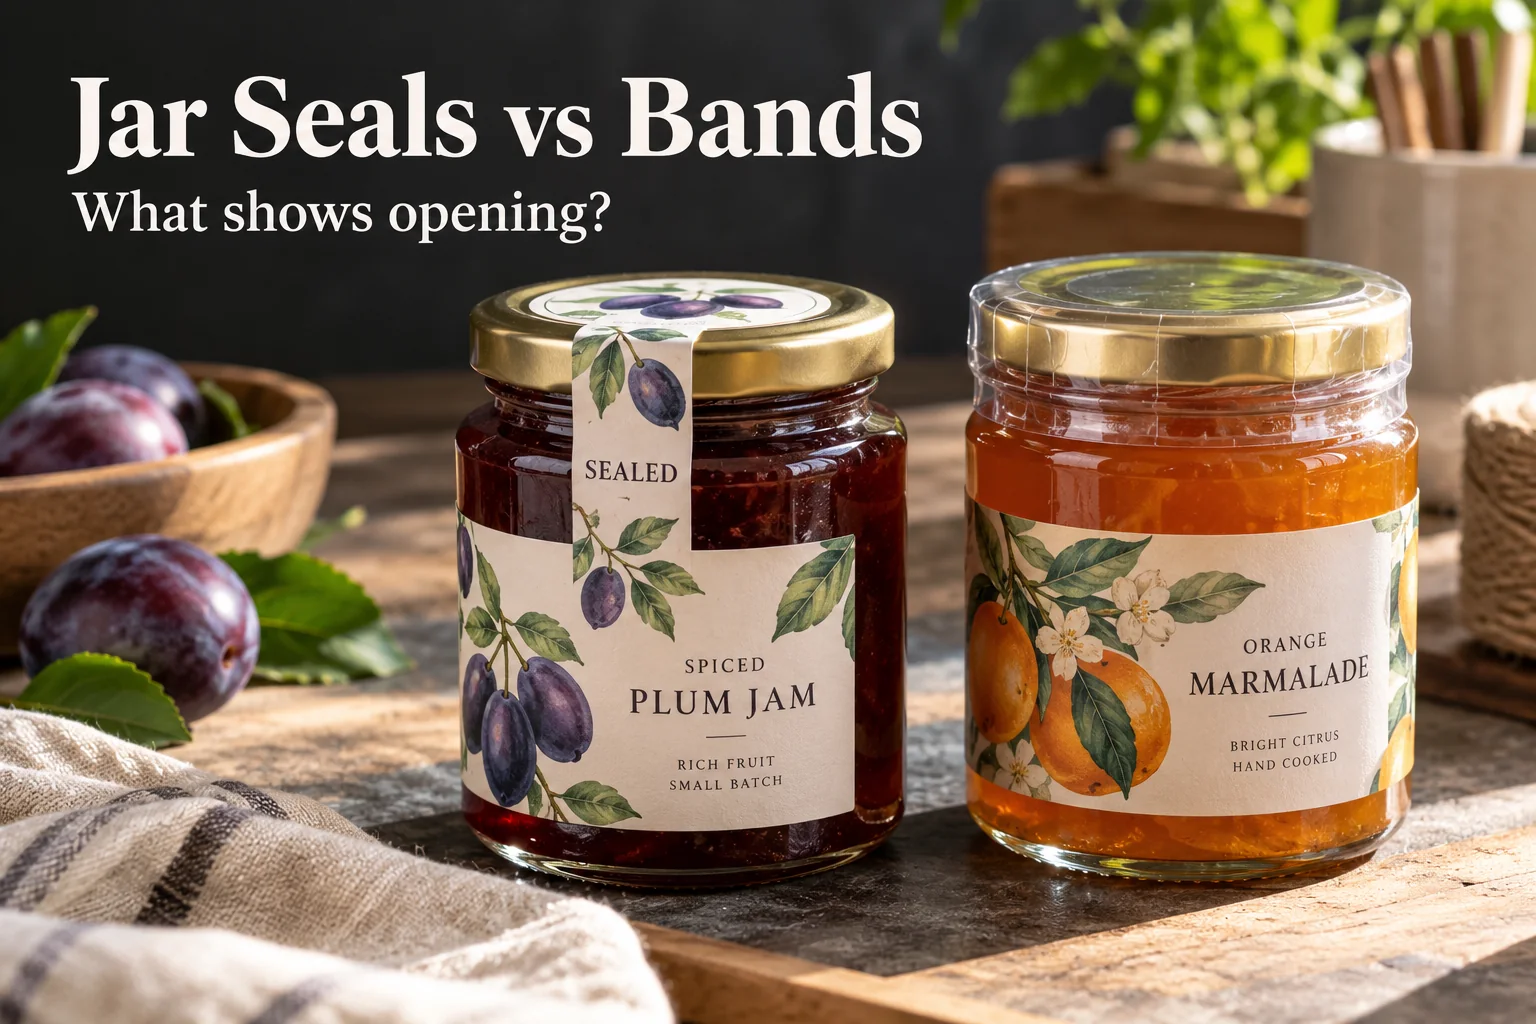
Picture a row of filled jars waiting for a final closure check. A slim illustrated strip bridges the lid and glass on one jar; a clear band wraps the cap and neck on the next. Both may look reassuring in a product photo. The useful question is simpler: what changes when someone opens this exact pack?
I would choose the closure only after watching the normal opening motion. A pressure-sensitive bridge label can connect two surfaces and carry original artwork. A shrink band surrounds more of the closure, but needs a different application and shrinking process. Neither is automatically right for every jar, and a label printer should not claim to supply or certify a band it has not specified.
Compare the Opening Evidence, Not the Graphic
| Decision | Printed bridge seal | Shrink band |
|---|---|---|
| Where it sits | Across lid edge and jar body | Around cap and neck |
| Branding space | Small printed surface for an original mark | Coverage and print options depend on band design |
| Line setup | Placement and pressure across two surfaces | Band placement and controlled shrink operation |
| Opening check | Look for tear, split or transfer as specified | Look for the intended break or removal evidence |
The table is a planning comparison, not a performance promise. A plain paper strip that lifts intact may be only a decorative closure. A poorly fitted band may not give the intended result either. For regulated goods, the product owner must confirm the required package feature and labeling statement with qualified advisers. The FDA's cosmetics labeling summary illustrates why a visible indicator and its accompanying statement cannot be inferred from artwork alone.
Give the Seal a Job and a Place
If the jar label is primarily a small branded closure, an original botanical illustration or a clear batch symbol can make it feel deliberate. Keep any safety-looking icon honest. Do not add a fake approval mark. Mark the exact landing area on lid and body; metal, coated plastic and glass can ask different things of the adhesive. If a band is preferred, confirm cap diameter, neck shape and equipment with the band supplier rather than reusing sticker dimensions.
Run a Finished-Jar Trial
Close representative filled jars using the normal process. Apply the proposed feature, let it pass through packing and storage conditions, then open it as a customer would. Photograph both the unopened and opened result. Repeat on each lid and jar family. The most valuable sample is the one that shows an inconvenient failure before a bulk run.
- Identify the actual first opening movement
- State the visible evidence expected
- Confirm lid, jar and surface finishes
- Trial application on packed jars
- Inspect after storage and shipping handling
- Have the product owner approve any regulated wording
Read the tamper-evident label guide for construction questions and the jam jar label guide for sticky filling and artwork planning. Send a closed-jar photo, opening video and desired evidence through the specification planner. The right choice is the feature that works on the pack, not just in the mockup.
Questions Before You Order
Is every jar lid sticker tamper evident?
No. A decorative closure sticker may peel away without clear evidence. Define the visible change and test it on the finished jar before making that claim.
Does a shrink band replace a printed label?
Not necessarily. A band can provide a different opening indicator, while a printed label can carry product identity. The packaging owner should assess both functions and any applicable rules.
Can one tamper seal fit glass and plastic jars?
Do not assume so. Lid finish, jar surface, edge geometry and opening force can change the result. Trial each package construction separately.