
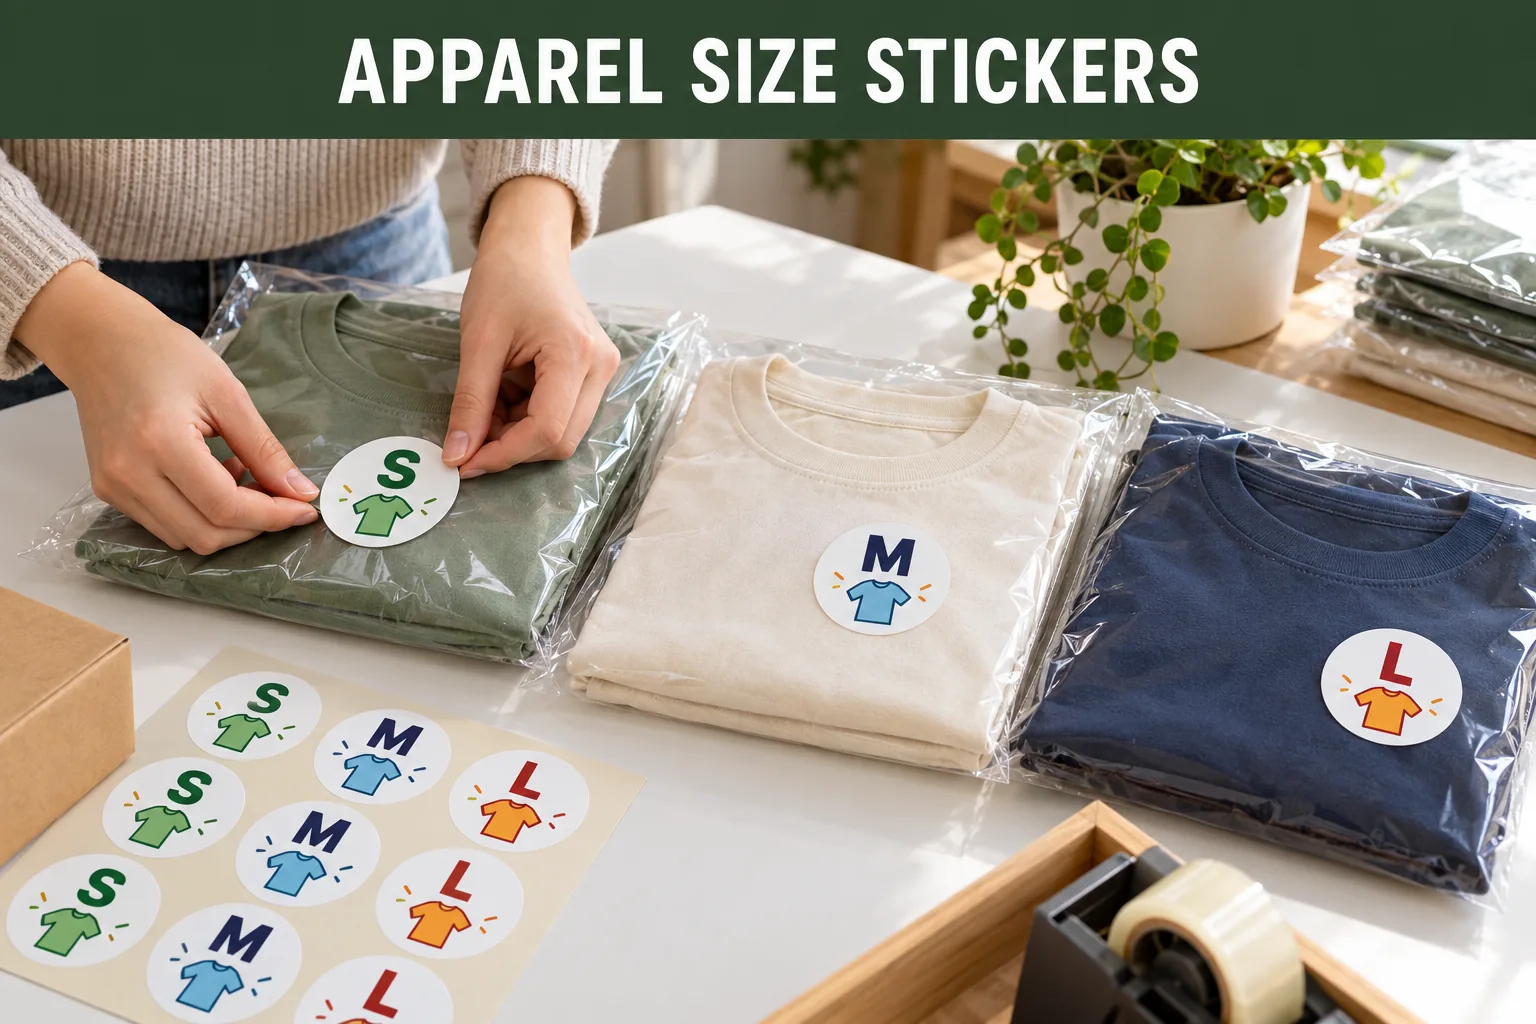
A size sticker is a small thing until a packing table has six piles of nearly identical shirts. The packer wants to spot M without unfolding every garment. The buyer does not want a sticky patch on the fabric when the customer opens the bag. I would settle placement before discussing a fashionable color palette.
Decide whether the mark belongs on the garment, the polybag or a hang tag. Those are different surfaces and different removal expectations. If the sticker touches fabric, test it on the actual textile, print and finish. If it goes on a bag, test it after the garment is folded and the bag is filled; the useful visible area may be smaller than the flat bag suggests.
Choose the Surface Before the Artwork
| Placement | Useful when | Check first |
|---|---|---|
| Polybag front | Staff pick sealed sizes from shelves | Visibility after folding and boxing |
| Garment wrap | There is no outer bag | Release from the actual fabric |
| Hang tag | A tag already carries product data | Legibility and attachment position |
Removable does not mean universally residue-free. Heat, storage time, fabric texture and printing on the garment can change the outcome. Ask for a sample of the proposed construction, apply it as the packing team would and remove it after a realistic storage interval. No generic adhesive claim replaces that check.
Build a Size System That Can Be Picked Quickly
An original shirt icon and a large letter can work better than decorative lettering. Put the size first, then any collection name or variant detail. Use contrast and a clear shape so a picker can tell XS from XL at arm's length. Color can reinforce the distinction, but the letter must stand on its own for monochrome printing or color-vision differences.
If a range includes numeric, international and local sizes, the brand must approve the mapping. A print supplier should not infer that one market's M equals another's. Keep a version sheet with the exact text and quantity for every size. It is the quiet spreadsheet that prevents a beautiful stack of wrong labels.
Proof the Finished Pack, Not a Loose Sticker
Fold one garment per size, pack it normally and line the samples up as warehouse staff would see them. Check whether the size is visible under a barcode label, fold or seam. Then open a sample pack: does the sticker come off cleanly, and is the unboxing experience acceptable? If direct fabric contact is unnecessary, I would usually begin with the bag or tag.
- Photograph the final folded garment and bag
- Confirm sticker surface and removal expectation
- List exact size text and count by variant
- Proof the smallest size mark at actual dimensions
- Run a sample peel and storage check
- Verify visibility on a packed shelf and in a shipping carton
Use the removable adhesive guide for the material conversation and the reorder checklist for version control. Send the pack photo and size matrix through the label specification planner. The right size sticker saves a decision at the packing bench instead of creating another one.
Questions Before You Order
Should a size sticker go on the garment or the polybag?
Start with the intended packing workflow. A polybag mark avoids direct fabric contact; a garment sticker needs a suitable sample test on the actual fabric and finish.
Can every size use the same color?
It can, but a distinct size cue helps picking. Keep the printed size legible without relying on color alone.
What information is needed for a quote?
Share pack photos, application surface, sticker dimensions, size list, quantities by size and any removal requirement.