
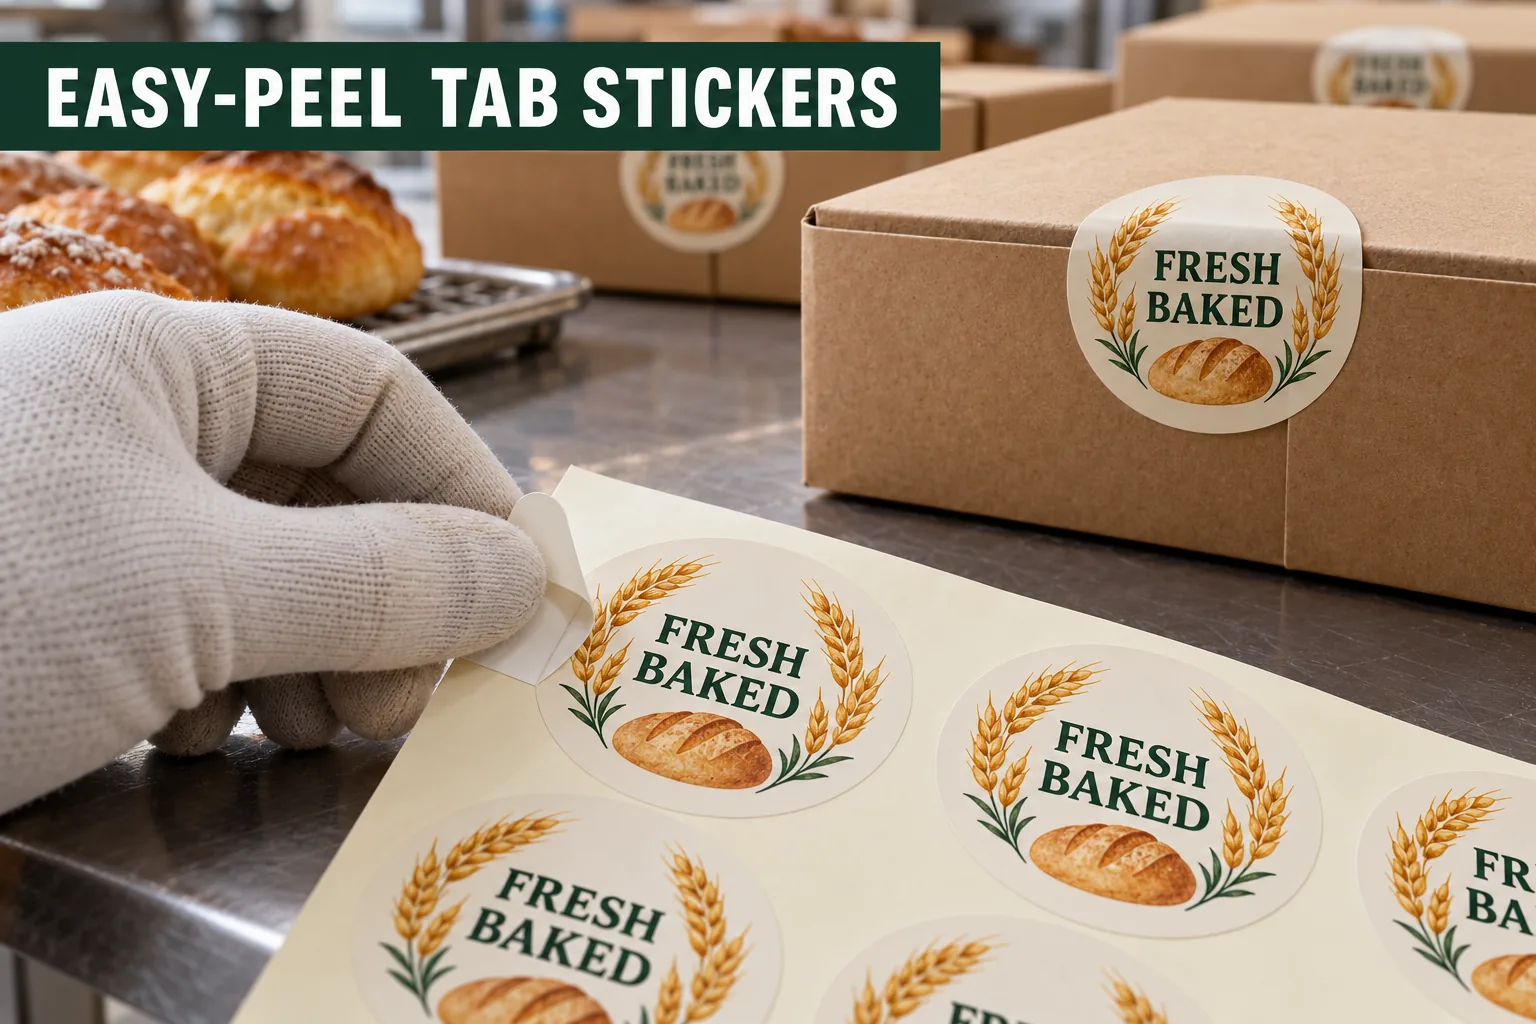
At a quiet desk, almost any sticker peels. At a packing bench, one worker may be closing dozens of boxes and reaching for a seal with the other hand. A tiny corner that takes three attempts matters more than a decorative flourish. I would watch one full packing cycle before choosing the tab.
Easy-peel can mean different constructions: a protruding corner, a dry lift area, a split-back liner or a kiss-cut shape with extra backing around it. They do not produce the same finished look. The buyer needs to decide whether a tab stays visible on the pack, folds under, or is only part of the liner that gets thrown away.
Test the Peel in the Real Sequence
| Format | Potential advantage | Check before quoting |
|---|---|---|
| Extended liner margin | Room to flex the backing | Extra space in storage and packing |
| Split-back liner | Adhesive can be exposed in stages | Whether the split is easy to find |
| Dry lift tab | Finger can grasp a non-stick area | Finished-pack appearance |
| Kiss-cut sheet | Backing stays around the design | Spacing and waste on each sheet |
Give a sample to the person who actually seals the package. Have them wear the gloves used in normal production, if any. Time and observe a short run without turning it into an unsupported productivity claim. Does the tab help, or does it catch on neighboring labels? Does the second hand still need to steady the sheet?
Protect the Artwork and the Seal
The pull area must not remove important brand text or weaken the part meant to close the package. For a bakery box, an original wheat illustration and clear product name can sit in the main seal while a small corner gives the finger somewhere to start. Proof the sticker both on its liner and applied across the box flap. If the package surface is rough or dusty, test adhesion separately from peel ease.
Do not assume a larger tab is always better. It can turn a tidy seal into a loose flag that customers catch on a bag. If the tab is only on the liner, say so in the dieline and packing instructions. A drawing that shows only the printed face can hide the exact handling problem the project is meant to solve.
Send a Usable Quote Brief
- Send a photo or short description of the packing motion
- State whether stickers arrive on rolls, sheets or loose
- Measure the finished seal and the possible pull area
- Identify gloves, speed and one-handed handling needs
- Proof the applied pack as well as the liner
- Test tab access and adhesion with actual packaging
Compare rolls and sheets for the application flow, and review the kiss-cut versus die-cut guide for backing choices. Put the pack photo, dimensions and proposed tab position into the specification planner. A small handling detail can determine whether the label is pleasant to use.
Questions Before You Order
Does an easy-peel tab change the finished sticker shape?
It may. A non-adhesive or extended tab can remain visible after application unless the design includes a removable handling area. Proof the applied result.
Can every sticker be supplied with a peel tab?
Tab feasibility depends on dimensions, die-cut geometry, liner and production method. Share the actual size and request a physical sample.
Is a split-back liner the same as a peel tab?
No. A split backing can help expose adhesive, while a tab gives the finger a grasp point. Compare both in the real packing workflow.