
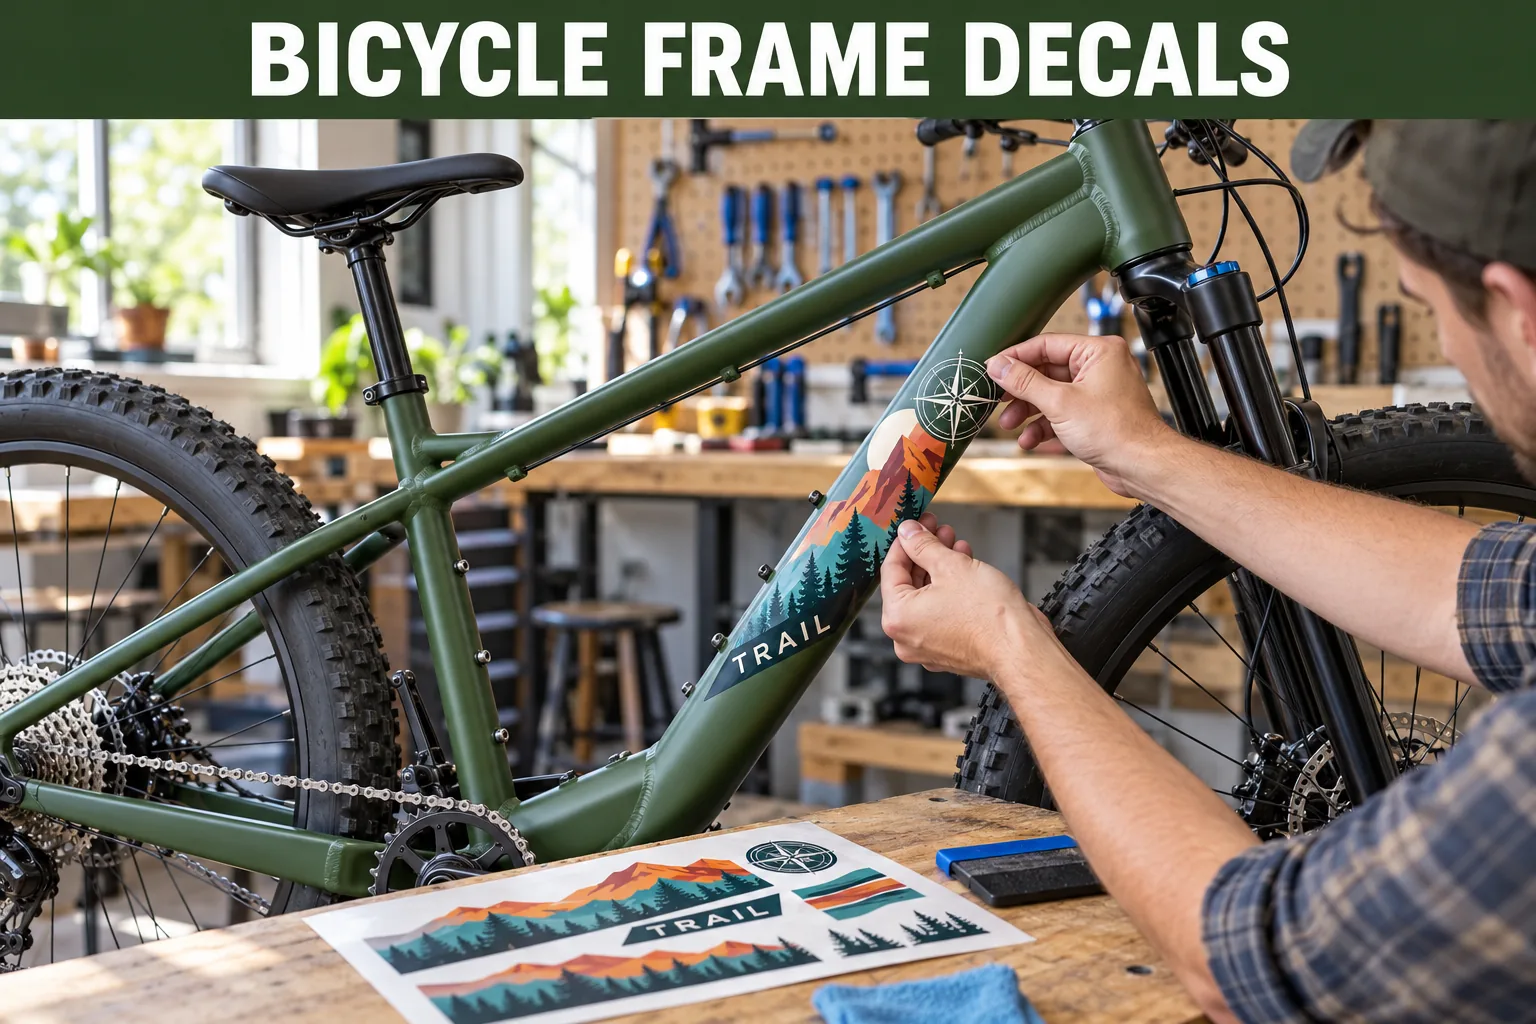
A bicycle frame offers a long, tempting space for a graphic. It is not a flat signboard. The down tube tapers, the seat tube meets welds and a design that reads from one side can disappear around the curve from the other. I would tape a full-size paper proof to the real frame before discussing whether the artwork is bold enough.
For an original frame decal, think about the person applying it as well as the rider seeing it. A very long single piece may look elegant in a file and be awkward to align around bottle bosses or cable ports. A shorter, well-placed graphic can be easier to install consistently.
Measure the Tube and the Viewing Angle
| Frame area | Physical issue | Proof action |
|---|---|---|
| Down tube | Taper and cable ports | Wrap a full-size paper template |
| Seat tube | Welds and bottle mounts | Mark clear application zones |
| Chain stay | Frequent scuffing | Review abrasion exposure |
| Head tube | Tight curve | Check small artwork legibility |
Photograph the frame from the usual side and three-quarter angle. Mark the usable length and the widest area where the graphic will remain visible. An original mountain line, compass motif or abstract route shape can be distinctive without copying a bicycle manufacturer's badge. Avoid placing critical text where it wraps out of sight.
Agree on the Finishing Sequence
Is the decal applied to a finished frame, under a clearcoat or as a temporary event graphic? Those are different constructions. A frame finisher needs to test any overcoat with the exact print, ink and adhesive; a print supplier should not promise compatibility from a generic material description. If the graphic sits on top of paint, test placement after the coating has cured according to the frame maker's process.
Think about washing, road grit, rack contact and sunlight. The rider may care more about a rub point than a dramatic studio photograph. Request a proposed construction and test it on a representative painted surface with the expected cleaning and handling routine.
Make Installation Part of the Proof
A transfer liner can help position detailed shapes, but the application team still needs clear alignment references. Test the smallest piece and the longest piece on the intended tube. Look for edge lift, trapped air and distortion around taper. Decide whether the graphic will be installed at the factory, shop or by the rider; installation instructions should match that setting.
- Send frame model photos without borrowed brand artwork
- Measure target tubes and identify ports and bosses
- Proof original art at full physical size
- Confirm finish and installation sequence
- Trial a sample on representative paint
- Inspect from normal viewing angles after application
See the outdoor sticker durability guide for exposure questions and the application guide for placement technique. Send tube measurements and original artwork through the specification planner. The frame, not the monitor, gets the final vote.
Questions Before You Order
Can a flat decal fit every bicycle frame?
No. Tube diameter, taper, welds and curvature vary. Measure and proof the intended frames rather than assuming one shape fits all.
Should decals be applied before or after clearcoat?
That depends on the frame finishing system. The frame manufacturer must approve the process and test compatibility with the proposed print and adhesive.
Are all vinyl decals suitable for outdoor riding?
No universal durability claim is justified. Describe washing, sunlight, abrasion and storage, then test the proposed construction for the intended use.