
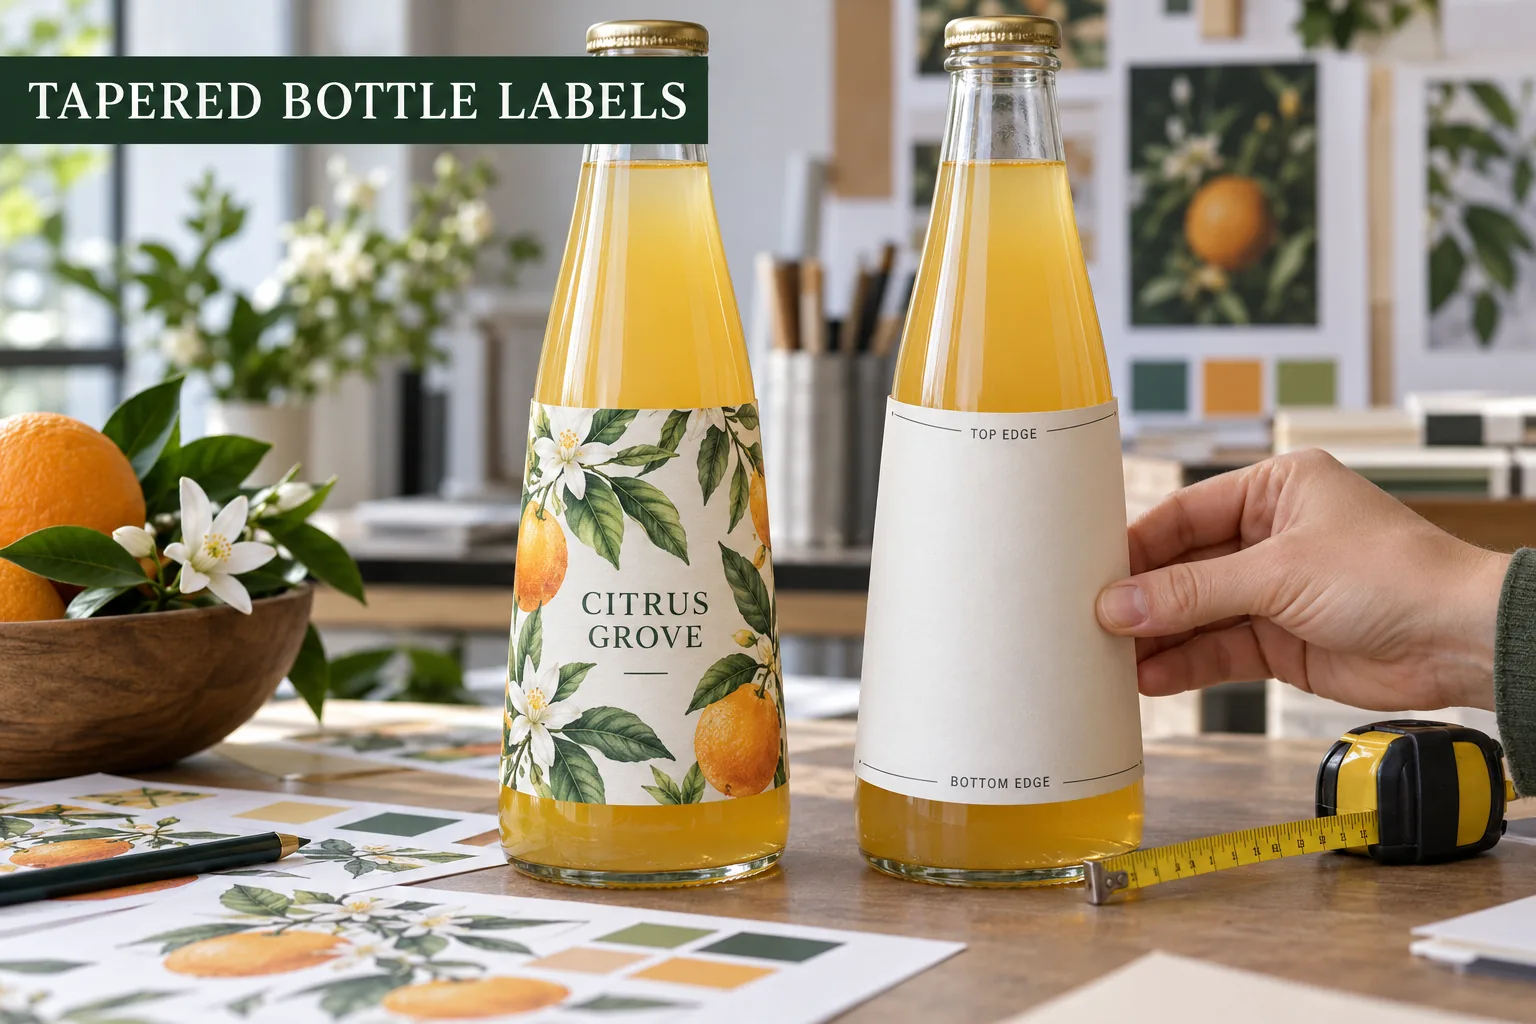
A buyer measures the middle of a bottle, chooses a label width and is surprised by a diagonal crease after application. The bottle is not necessarily defective and the print may be perfectly accurate. The upper and lower edges simply have different distances to travel around a tapered wall. I would stop adjusting the adhesive until the geometry is understood.
Start with a real empty bottle, not only the supplier's volume specification. Mark the intended top and bottom edges of the label, then measure the circumference at both heights. Note shoulders, molded seams, grip panels and any embossing. A capacity label such as 250 ml tells you almost nothing about usable print area.
Measure at the Label's Actual Heights
| Measurement | Why it matters | How to verify |
|---|---|---|
| Top circumference | Upper wrap path | Flexible tape at top edge |
| Bottom circumference | Lower wrap path | Flexible tape at bottom edge |
| Usable height | Clear of shoulder and heel | Paper mockup on bottle |
| Seam allowance | Prevents collision or a thick overlap | Photograph applied sample |
Wrap a paper template around the bottle and draw a level reference line while it is on the container. Remove the paper and inspect its shape. It may not be a rectangle. For a heavily tapered bottle, the artwork and dieline may need a curved top and bottom. The goal is a label that appears level when applied, not necessarily one that looks rectangular in the flat file.
Proof Artwork After the Shape Is Settled
An original citrus branch illustration can follow a curved label edge, while the drink name remains in the flattest, most visible zone. Keep tiny type away from a deep taper or seam. If the bottle carries owner-approved ingredients or other required copy, make sure the final shaped panel still leaves enough readable space. The product owner must approve all claims and market wording.
Test the actual face stock and adhesive on the intended bottle. A thin film may conform differently from a textured paper. That is a sample question, not a promise that one material always wins. Apply several labels with the method the packer will use and compare their position after normal handling and storage.
Control Bottle Variants Before Ordering Bulk
- Send a physical bottle or accurate photos from every side
- Measure circumference at top and bottom label edges
- Mark seams, ridges, shoulder and heel
- Make a full-size paper wrap before artwork approval
- Apply a printed sample using the real process
- Confirm each bottle supplier and size variant separately
See the label sizing guide for basic usable-area planning and the bottle roll-label guide for production format. Share bottle dimensions and the paper wrap photo through the specification planner. The bottle decides the shape; the artwork can follow.
Questions Before You Order
Why does a rectangular label wrinkle on a tapered bottle?
The upper and lower circumferences differ, so the flat label edges travel different distances around the container. Measure both and trial a shaped template.
Can one label fit several bottle suppliers?
Only after checking the actual dimensions and panel geometry of each bottle. Similar stated capacity does not guarantee the same taper or usable label area.
Should I send a bottle drawing or a physical sample?
Send both if possible. A physical sample reveals ridges, seams, taper and the real application path that a drawing may not communicate.