
Approve a gift envelope seal on a fully assembled example before you order it in bulk. For an envelope that travels as the outer mailpiece, have the team responsible for mailing mark the areas needed for addressing, postage and any required machine-readable marks. Start with a small rear-flap decoration on a normally closed envelope, then confirm its placement and construction against the intended mailing route.
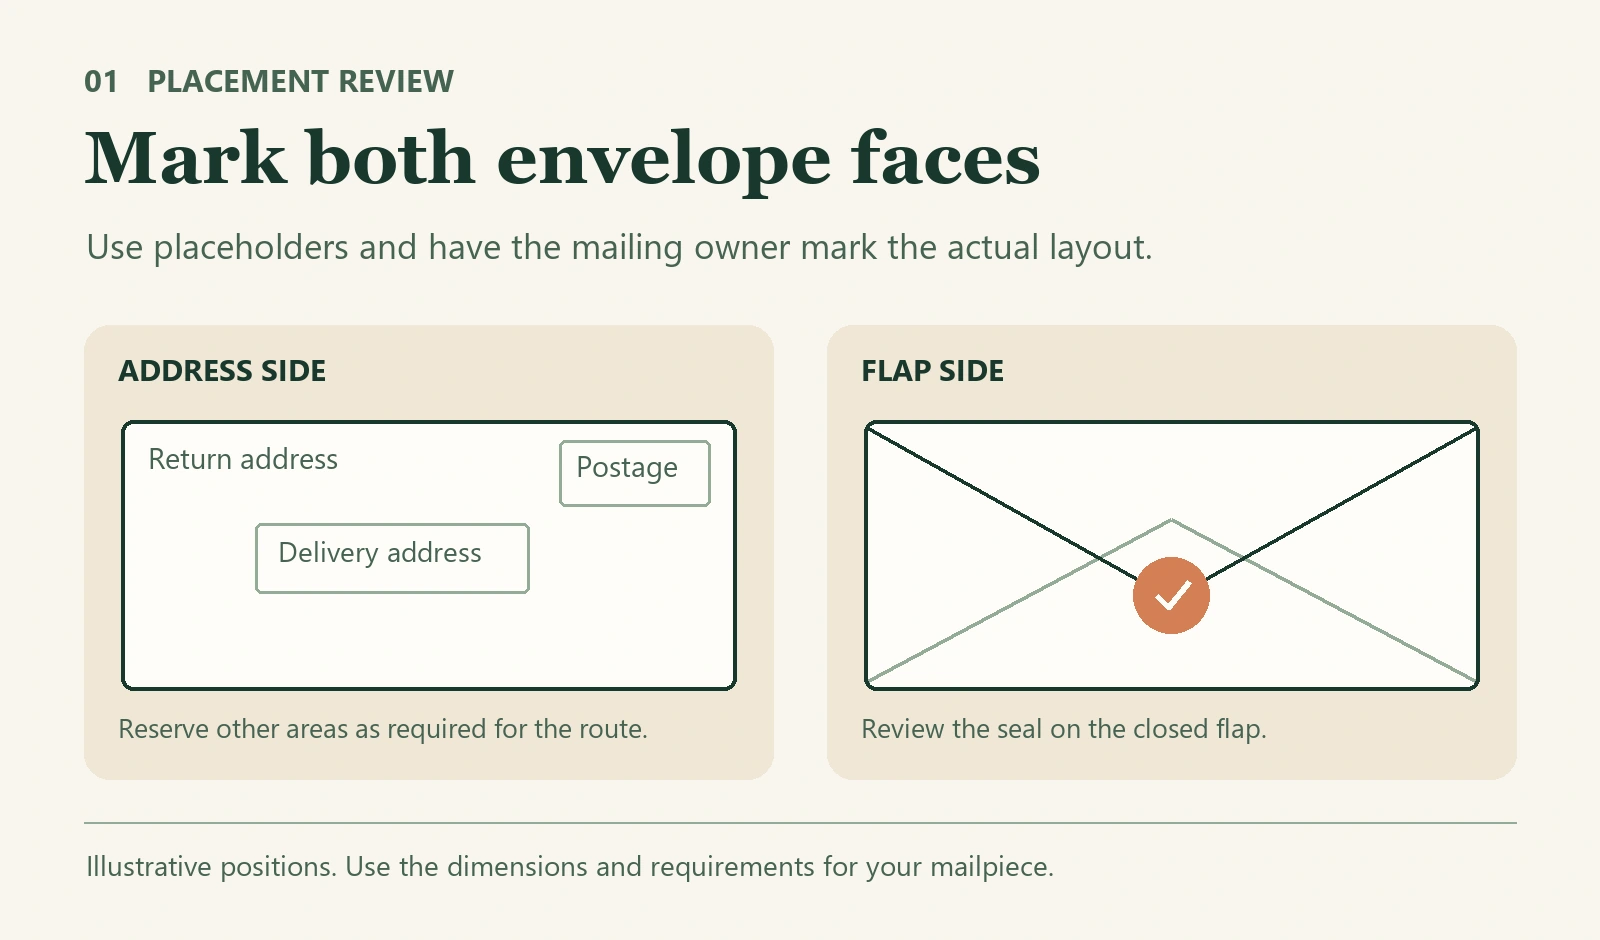
Decide which envelope will carry the mailing marks
If the branded envelope is handed to a guest or sits inside an outer mailer, the decorative position can follow the recipient’s opening sequence. For example, a sticker can straddle an inner flap if the team wants it to break as the recipient opens the card. If the gift envelope is the outer mailpiece, the front layout and the finished piece both need review. A flap seal that looks right on an empty envelope can land on a ridge after the card and insert are packed.
For U.S. letter mail, USPS describes the address-side elements and when certain letter mailings require a barcode clear zone. The physical standards also vary by mailpiece format and preparation. Use the sections that apply to the selected service, and have the mailing owner confirm how they apply to the assembled piece. USPS DMM 202, address-side elements and USPS DMM 201, physical standards.
Make a two-sided proof and one packed sample
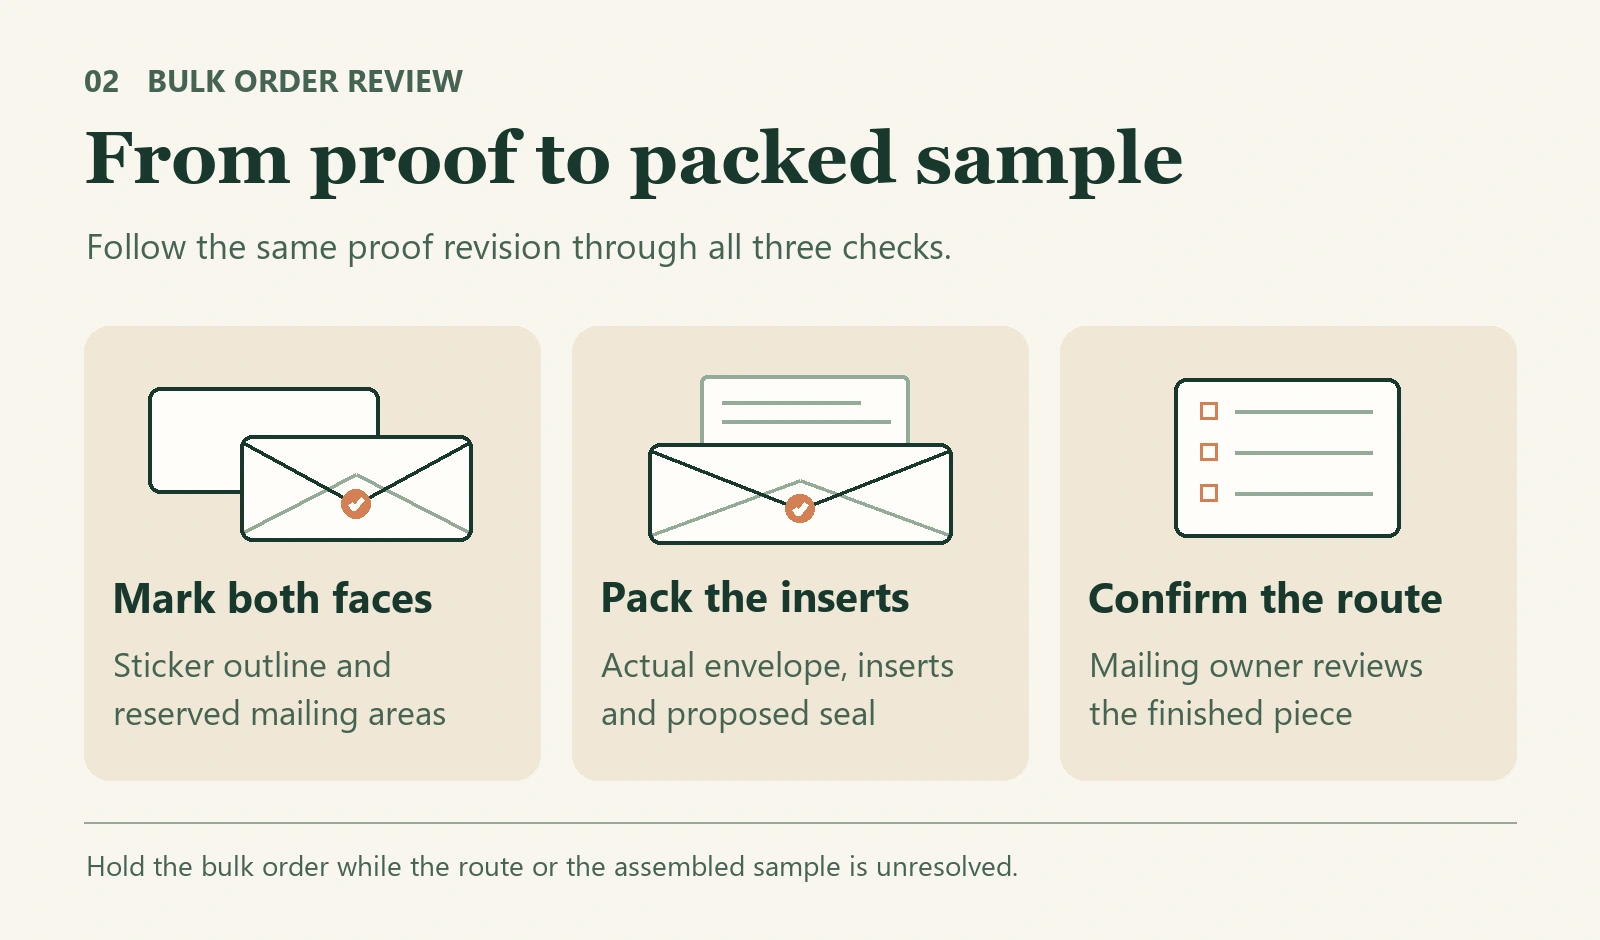
Put the envelope size and stock, flap style, proposed seal outline and the insert list on the same proof revision. Ask the mailing owner to identify the service and draw the protected areas using placeholders for any live address or barcode. Ask the packing lead where the sticker will land when a person applies it in the normal workflow. Both views should refer to the same envelope orientation.
| Check | What to review | When to hold |
|---|---|---|
| Address side | Put an actual-size sticker outline on the proof. Allow for the range of positions seen during a short packing rehearsal. | Hold a front design if the outline or that placement range enters any area the mailing owner has reserved. |
| Flap and closure | Close the envelope using its planned closure. Check the sticker over the real seam, flap point and paper finish. Open one example as a recipient would. | Move or resize the decoration if it bridges an air gap, lifts at the flap or tears an area the buyer wants to preserve. |
| Complete mailpiece | Pack the thickest planned combination of inserts. Include the proposed seal or a representative sample agreed with the supplier. Give the packed example and proof revision to the mailing owner. | Hold the bulk order when the service is undecided, the sample differs from the planned construction or mailing acceptance still needs confirmation. |
Keep the decoration and closure decisions separate
A decorative seal placed away from the flap seam may keep the opening cleaner. A sticker across the seam makes the sticker part of the opening experience and needs a sample review for paper tear and edge lift. If the buyer intends the sticker itself to keep the envelope shut in transit, pause and verify the closure method with the mailing owner and the proposed construction with the supplier. An artwork proof can show placement. It cannot demonstrate closure performance.
If one order serves both a mailed campaign and an in-person event, mark the routes separately. The same sticker can serve both when the packed mailing example passes the review and the event team accepts that placement. If the event design calls for a larger front decoration, keep a separate placement instruction so it stays with the hand-delivered batch.
Send the placement brief with the quote request
See the custom gift stickers and envelope seals product page. For a quote, prepare the envelope dimensions and stock or finish, front and back views with the proposed sticker outline, the planned insert set, and quantities by placement or artwork. Replace addresses and machine-readable codes with clearly labeled placeholders. State the decorative role and flag any route decision still open.